Previous | Next | Contents
Getting Started
Quick Start Guide
Creating a New Card Repository
Choosing the creation of a new card repository
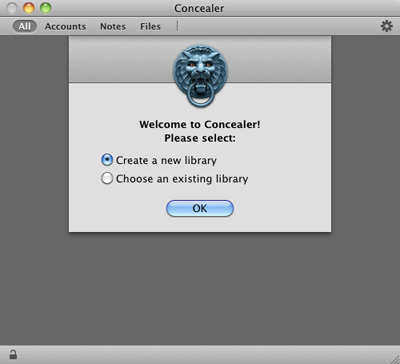
When you launch the program for the first time, it displays the following window:

It gives you the option to create a new card repository or to open an existing one.
Select Create a new library and then click OK.
If you need to add a new card repository while keeping the existing one, read Creating a New Card Repository.
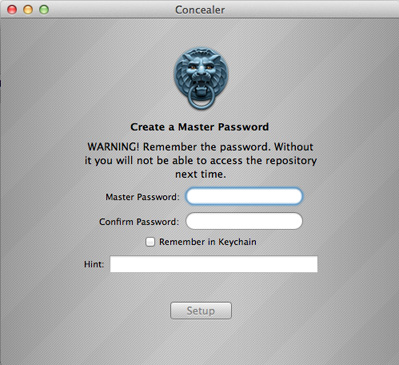
Inputting the master password

- Type in your password into the two boxes. This will be the master password that gives you access to the information you store in Concealer. Passwords shorter than eight symbols are not considered safe enough. The program asks you to input the master password each time it starts unless you select the Remember in Keychain check box (not recommended).
Type in your password hint.
- If you wish to store the password in Keychain, select the Remember in Keychain check box. Note that this is not safe. If you log in to your user account on your computer, anybody will be able to access the data stored in Concealer. It is recommended that you do not use Keychain for the master password.
- Click Setup.
Adding File Storages, Cards and Notes
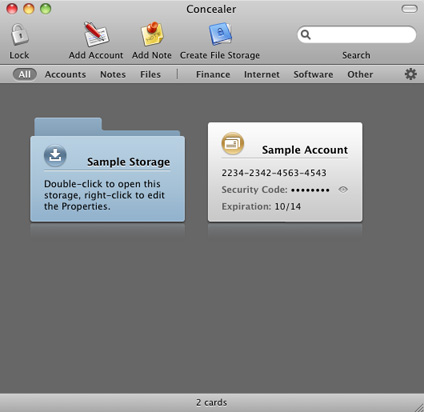
A new card repository looks like this:

It contains a sample card and a file storage. It is a file storage that is a folder-like element. You can drag and drop files or folders onto the storage icon to store them safely. To open the file storage and access your files, double click on the icon.
To add a new file storage:
- Choose Create File Storage in the toolbar.
- Type in a title.
- Select the Password Options check box.
- Type in a password.
- Select Remember the Password in Keychain if you wish to store your password this way.
- Choose the encryption method. Note that AES 256 provides better security.
- Set up the Size Limit. Note that this does not necessarily mean that the disk image will take up this amount of space on your hard disk.
- Click Create.
Other objects in Concealer are accounts and notes. Accounts are forms created for particular kinds of information. Notes are used for regular text. So, use notes if you need to add a lot of text, or if the information you have doesn't fit into any standard form.
To add a new account:
- Choose Add Account in the toolbar.
- Type in the account title.
- Choose the category for the account.
- Click the pop-up list in the middle and choose the most appropriate form.
- Fill in the form.
- If you wish to change the icon of the account, click on the current icon and select a new icon and color.
- Click Save Changes.
To add a new note:
- Choose Add Note in the toolbar.
- Type in a note title.
- Choose a category for the note.
- Type in text, or copy it from another application.
- If you wish to change the icon of the card, click on the current icon and select a new icon and color.
- Click Save Changes.
Accessing Your Data
To open an account or note, double-click on it. Then you can edit it or copy text to another application.
To access your files in a file storage, double-click on it. You will be asked to enter the password, unless you didn't specify a password when creating the storage, or if the password is stored in Keychain. The file storage will appear in the Finder as a new disk.
Previous | Next | Top | Contents


